This window shows the details of a specific print job session, including the individual bitmaps used in a print job.
Some details may be edited, and the entire print job session can be transferred to the IncJet device.
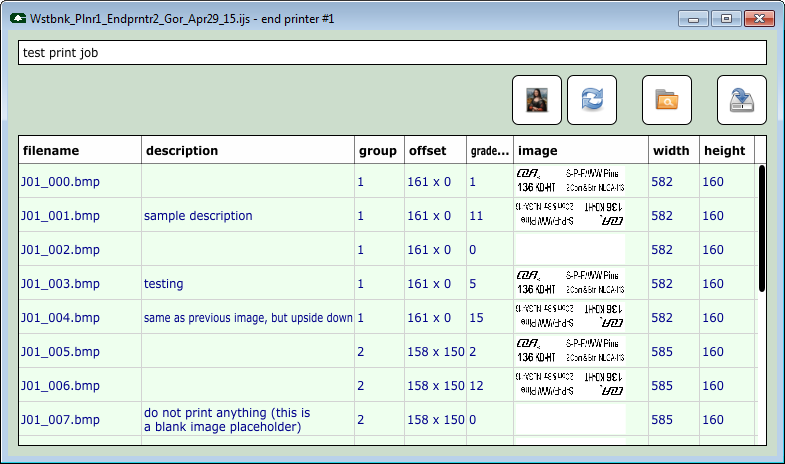
The window is composed of a description, several pushbuttons, and a table:
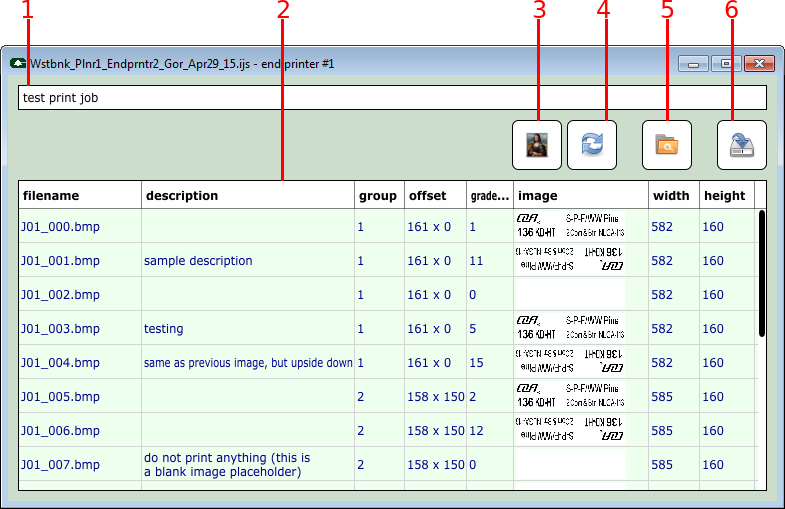
It is defined as follows:
| Feature | Description |
|---|---|
| #1 | A free-text description given to the print job. The only purpose of this field is to help the end-user identify and distinguish the print jobs in GPC. The description is not sent to the IncJet device. The description may be left blank. |
| #2 | The table shows the individual images in the print job. |
| #3 | Replace the currently-selected image with a different image. The new image must be the exact dimensions as the original image. A backup of the current image will be saved before the image is replaced. |
| #4 | Rotate the currently-selected image 180 degrees. |
| #5 | Open the folder where this print job and the images are stored on the local computer. |
| #6 | Transfer this print job and all of the corresponding images to the IncJet device. |
Similar to the summary window, the columns in the table can be shown, hidden, resized, and moved:
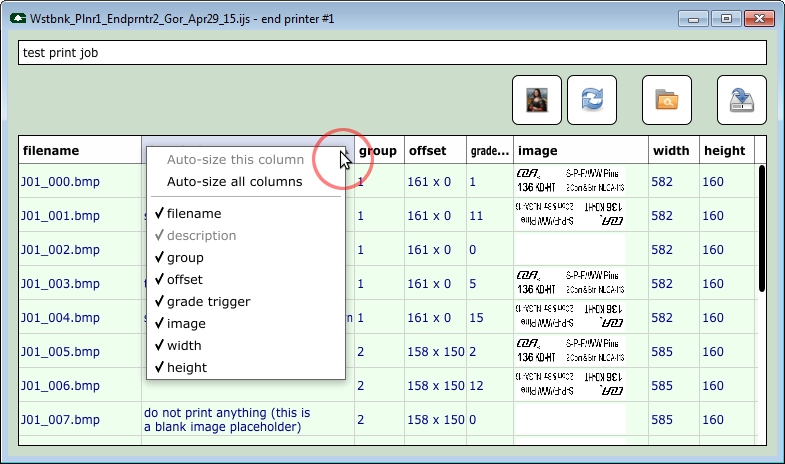
Right-mouse-click on any of the column headers to change the columns you'd like to see.
To change the column order, click-and-drag the column header to a new location.
Any changes you made to column visibility, column order, and column width will be stored in User-specific configuration.
Every image in a print job may have an optional description. Double-click on a row to edit an image's description. These descriptions are not sent to the IncJet device.
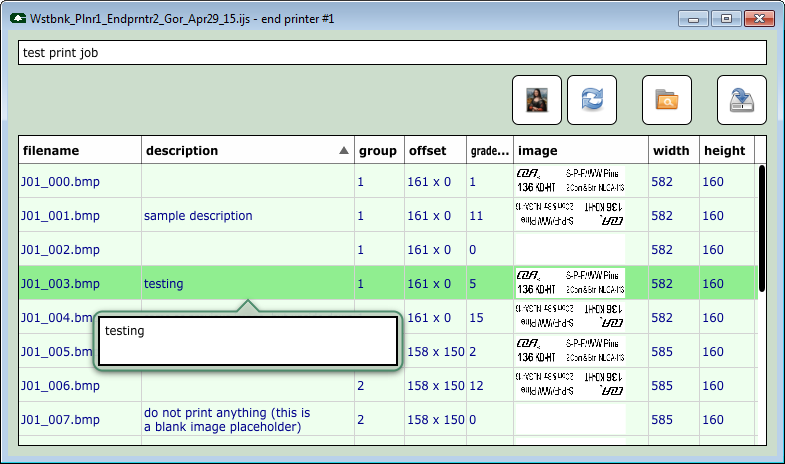
While editing the image-specific description, press ESC to abort, or press ENTER to set the description.
Once you click on the "transfer" button (item labeled #6 in the screenshot above), the user will be prompted to confirm transferring the print job and images to the IncJet device:
ijb files, or send both the ijs and the ijb files. See User-specific configuration for details.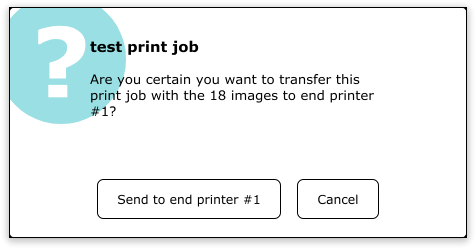
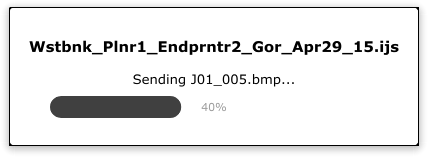
A progress bar is shown to the user once the transfer has begun:
If a connection to the IncJet device cannot be established, the following window is shown to the user:
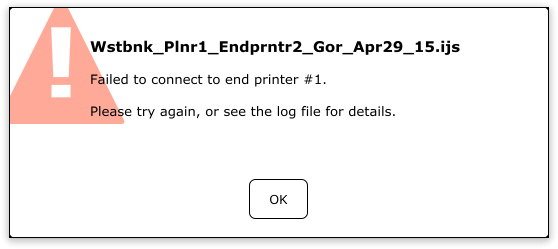
Make certain the computer has network access to the IncJet device. Verify the IP address and TCP port in configuration. See User-specific configuration.
Additional details on why the connection failed may be available in the log file. See Configuration to find the log file.