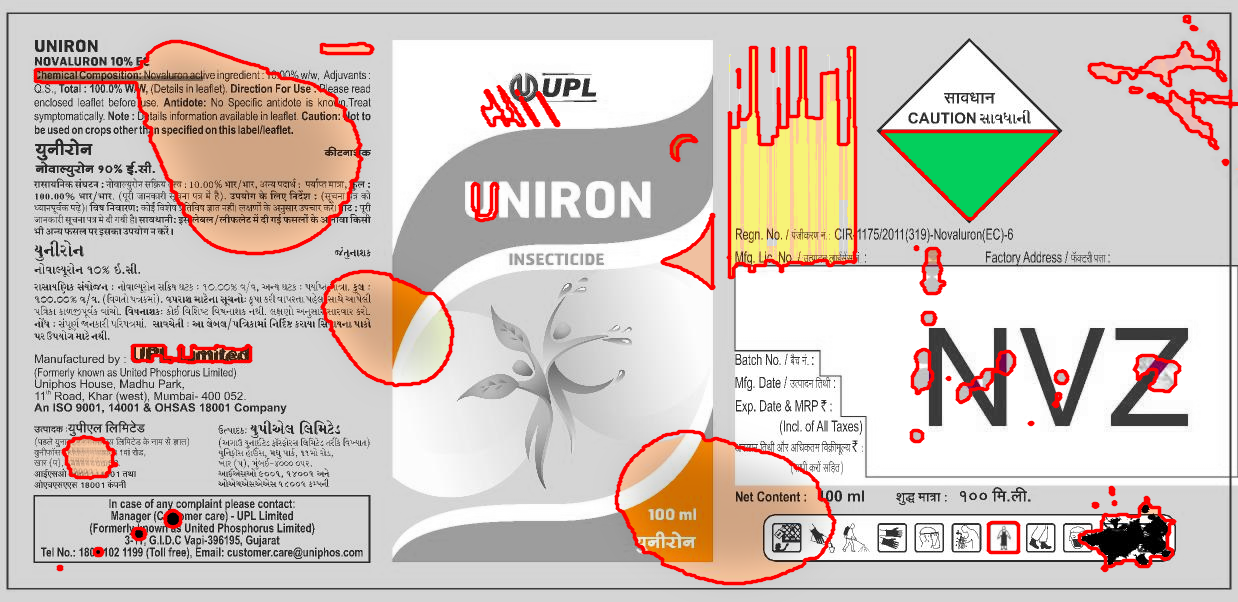
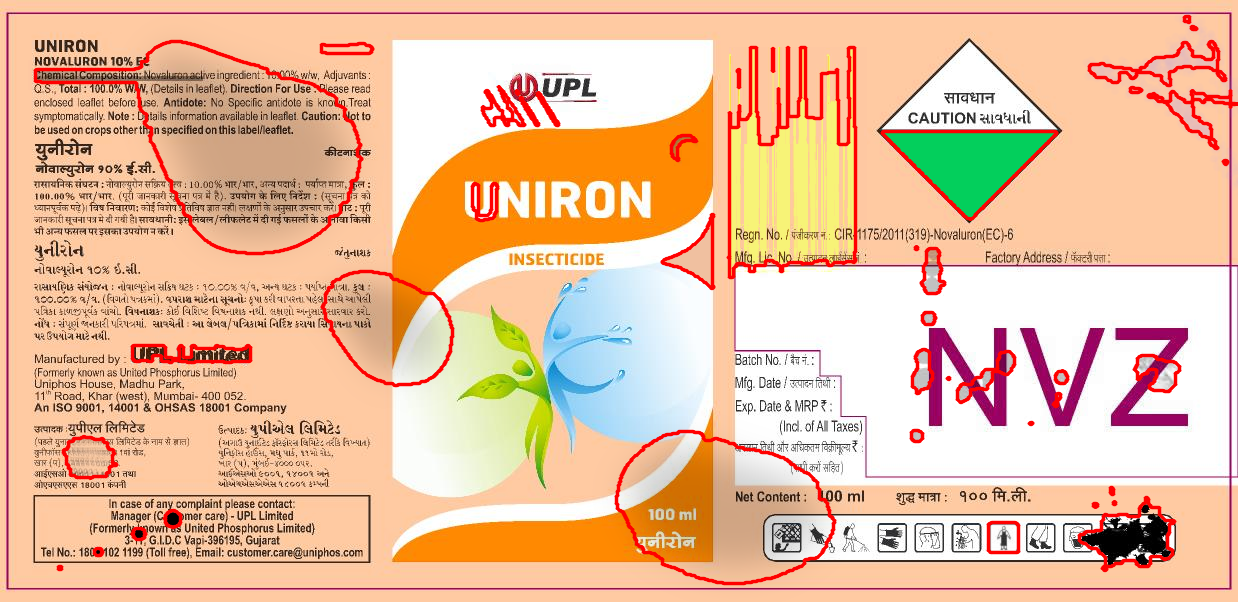
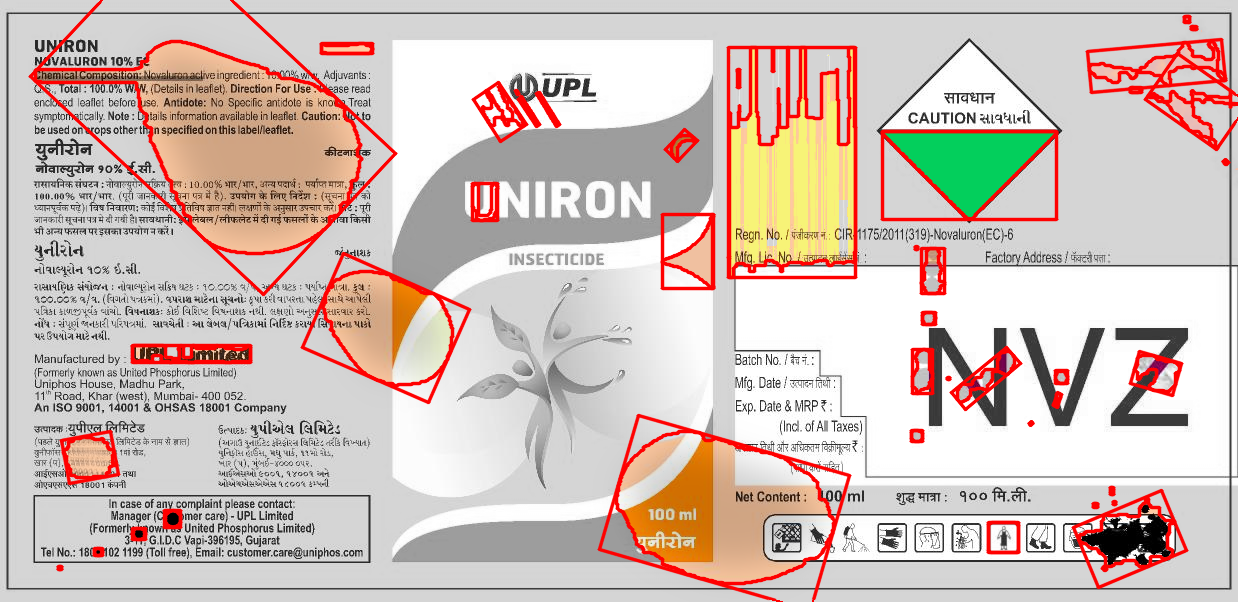
There are several settings that have a high impact on the results of the library.
Given this master image:

...and this test image:

When the comparison takes place, the first output is a diff. This can be done with the full colour image or a greyscale image, and is determined by calling one of the following:
The colour differences look like this:
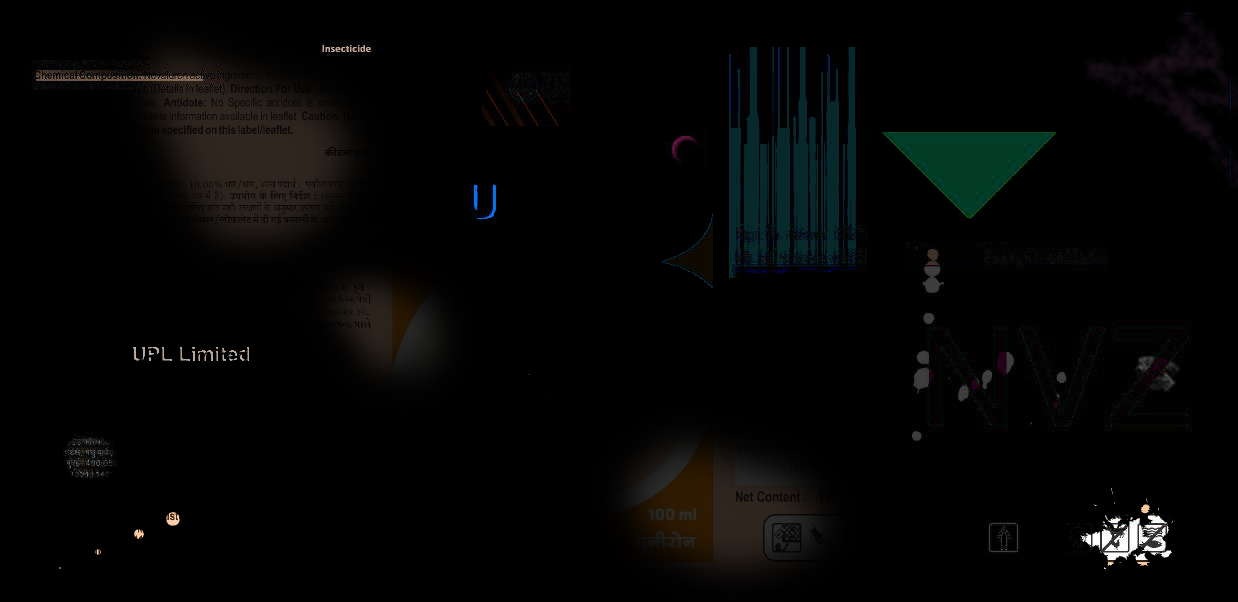
...while the equivalent greyscale differences look like this:
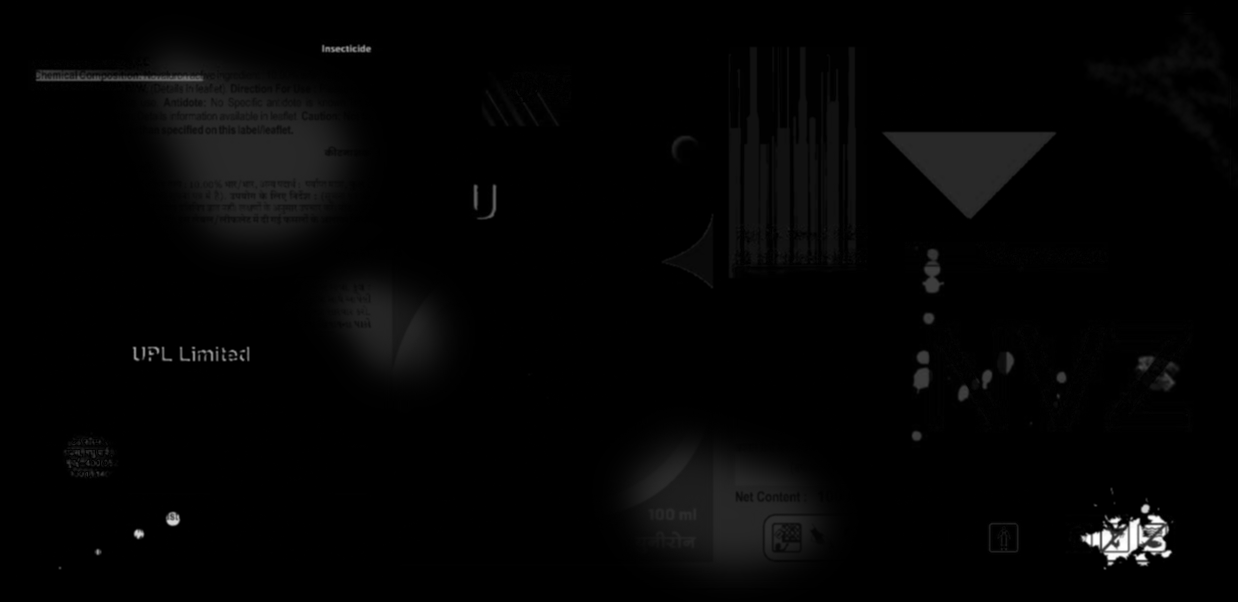
These images are available via vz::ImgCmp::differences.
The differences are then converted to binary masks. There are several techniques and settings involved in the process, the key ones being:
This results in black-and-white single channel images like this:
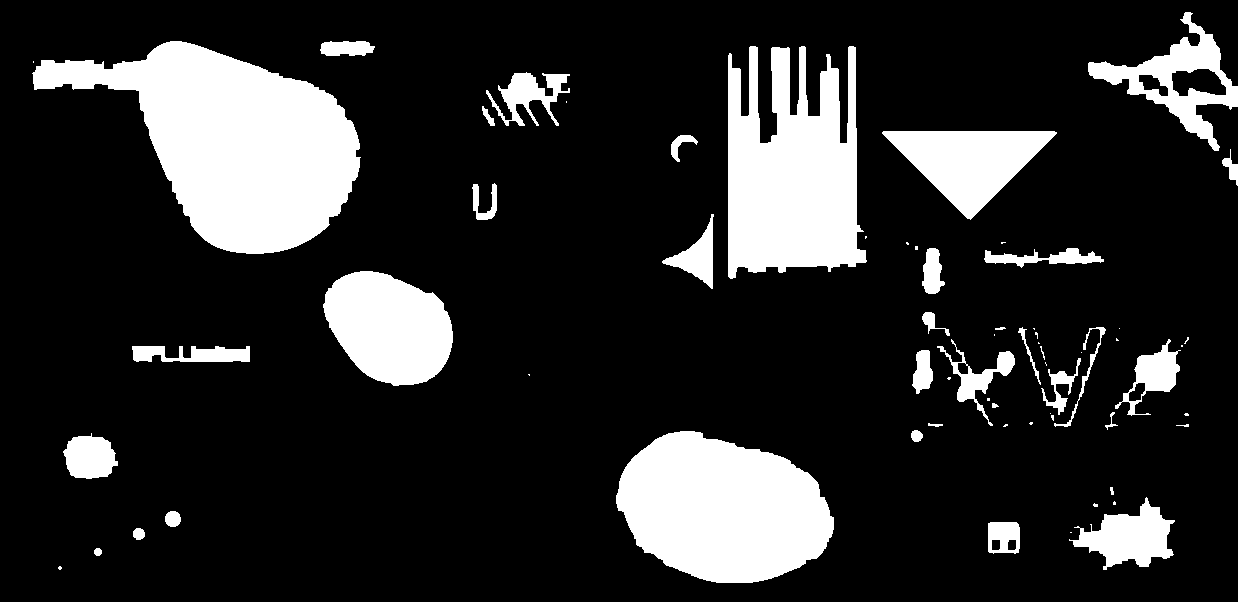
The single-channel threshold mask is then used to obtain the contours of all the differences. A contour is a vector of 2-D points (X and Y coordinate pairs) which indentify the perimeter of each difference.
Unlike everything else so far in this process, this is not a "visual" thing, but if needed all the contours are stored together in a vector called vz::ImgCmp::differences_contours.
The last step is to draw these contours on an image. This is done in vz::ImgCmp::annotate(). There are several options that control how the contours are displayed.
Key settings are:
